It’s now time to assemble one of the coolest sub-assemblies of the robot, and that is: the drive system! It’s great because it involves the wheels. This will guide you through the steps of assembling the motor into its enclosure, then adding the fasteners. These steps are to be repeated 4 times for the wheels, and 2 times for the separate sides of the drive system.
*Note: If you plan on driving your Bowie around a lot (who wouldn’t?) we recommend blue thread lock on the fastener threads. It’s possible some pieces may require sanding.
There is an important step in this, and that is, you will need JB weld to securely attach the motor hub to the motor axel, and allow this to set for 24 hours. Otherwise, the tiny set screw may not have enough holding strength to keep it in place on tests with rugged terrain.
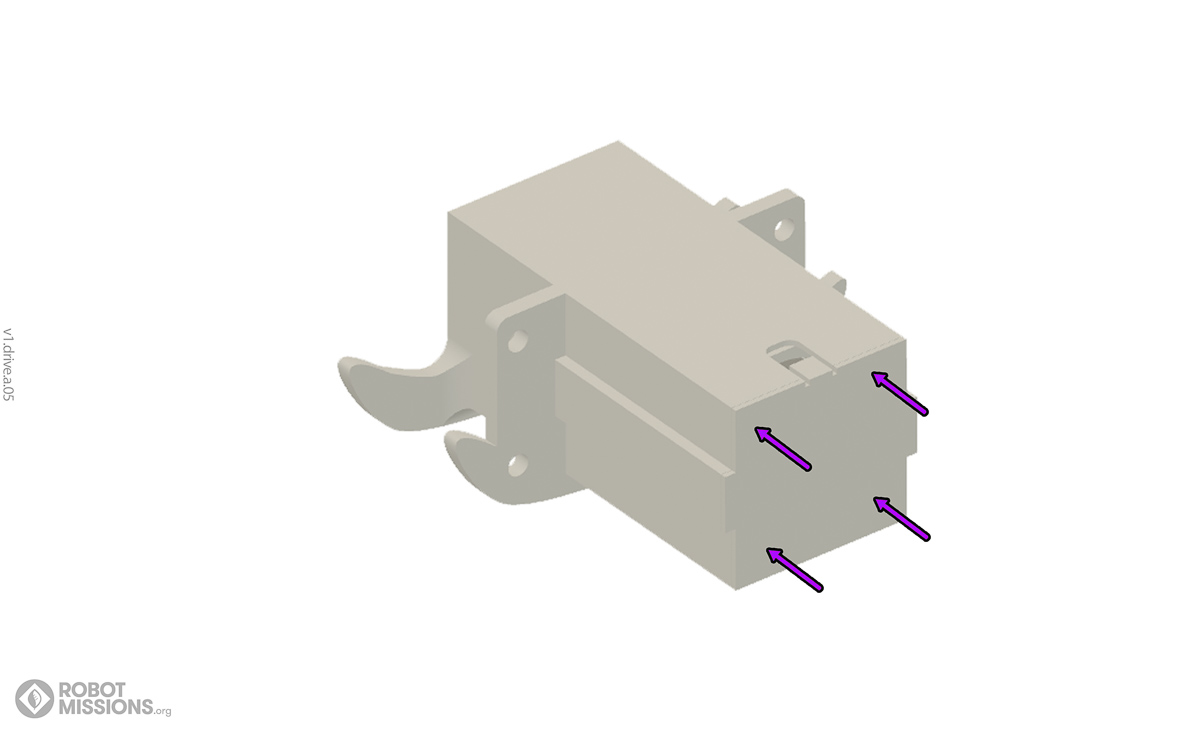
String the wires from the motor through the nub at the top of the motor enclosure. Then, glue the motor enclosure lid to the enclosure, and apply pressure to secure it.
Attach the metal motor hub piece to the motor axel using JB Weld for quick setting steel reinforced epoxy. Ensure that the hub piece is perpedicular on the axel as much as possible. Something to help for this is to press the hub onto the axel on a table. Allow this to dry for 24hrs. (Take a break!)
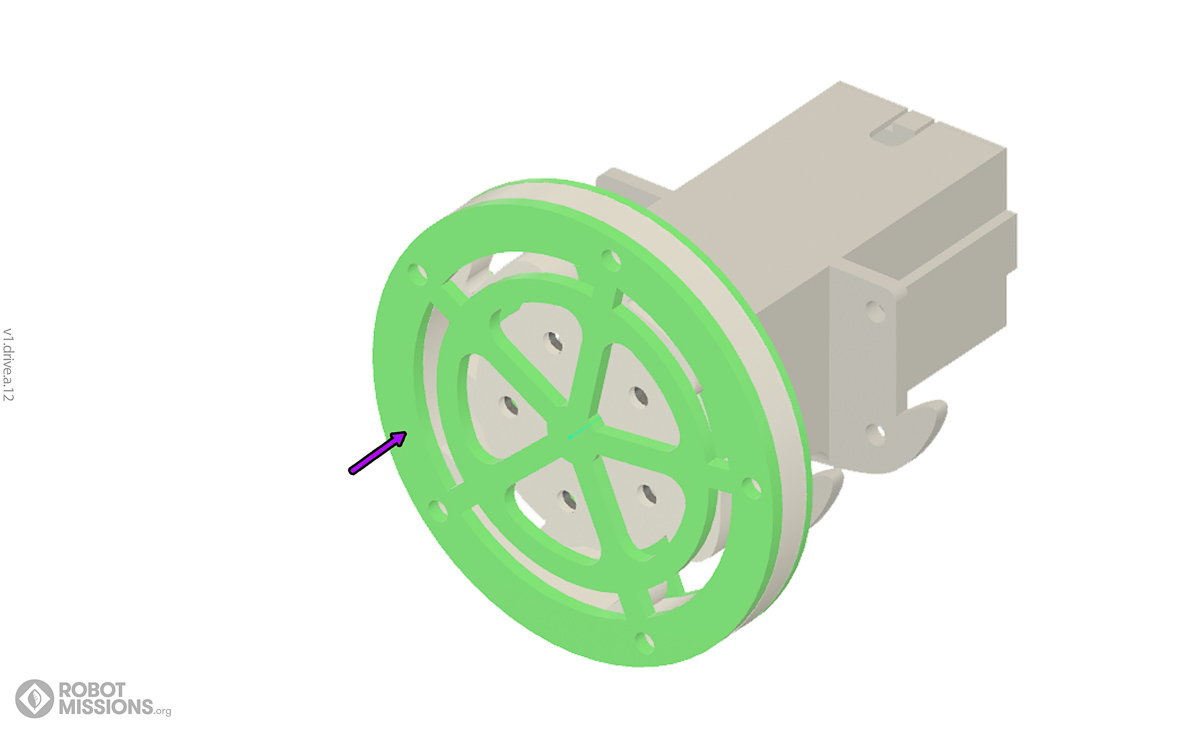
Next, add in the ninja flex disk on top and secure it with 5x M3 5mm screws. This step may be a little tricky to assemble. You will need to attach nuts to the back of the screws. It is possible, but may require patience, and possibly needlenose pliers will help.