by Erin RobotGrrl | Feb 15, 2020 | News, Progress Logs
In addition to posting the backlog of kit log and various updates today since the beginning of February, we also updated the chassis instructions in google sheets to include the proper image file names. As well, we updated the brain kit instructions in google sheets with the most recent bugs that were found. Next kit log we will be revisiting the mega list about progress on all the electronics kits, to see what is remaining to complete.

by Erin RobotGrrl | Feb 12, 2020 | News, Progress Logs
In between progress on the collaborations on Wednesday night (Wednesday night = Robot Missions meets), we were outlining the programming instructions. We also made a very simple sketch to test the assembly of the Bowie Brain Kit, without the need of all the libraries. So far, here are what the software instruction outline looks like:
- Software Instructions
- 1. Install Arduino IDE
https://www.arduino.cc/en/Main/Software
- 2. Install Teensyduino
https://www.pjrc.com/teensy/td_download.html
- 3. Download BowieLib
https://github.com/RobotMissions/BowieLib
- 4. Install BowieLib
Move BowieLib folder to your Arduino libraries folder. Eg, on Mac it is: ~/Documents/Arduino/libraries
- 5. Open Arduino IDE
- 6. Open BowieBrainBlink in Arduino
File > Examples > BowieLib > BowieBrainBlink
https://github.com/RobotMissions/BowieLib/blob/master/examples/BowieBrainBlink/BowieBrainBlink.ino
- 7. Change the board to Teensy 3.6
Tools > Board > Teensy 3.6
- Here are the other settings, they should be fine by default, but it’s good to double check.
- 8. Plug in micro usb cable to the Teensy 3.6 on the Bowie Brain board and your computer. Note that this must be a ‘sync’ cable (because it needs to send data back and forth). If it’s just a ‘charge’ cable, it won’t work.
- 9. Press verify on the code
- 10. Press upload on the code
- 11. Verify that the LEDs are blinking!
It should be the big green LED on the Brain Board and the little LED on the Teensy 3.6. They will be on for 1 second, then off for 1 second.
- 12. If something is not working, please send us an email
We will have to go through it again and verify that no steps are missing. Often times this step can be the most frustrating one when things are missing or not explained properly. After this, we will need to make instructions for it – mainly making the images. The process will be pretty similar to the electronics instructions on google sheets.
Oh yeah, just placing this image here for the board settings, in case it gets forgotten…
Hopefully we will complete this before Wednesday, because have a hunch that Beck and Brenda might be able to reach this far after the last of the soldering! That’s exciting

by Erin RobotGrrl | Feb 11, 2020 | News, Progress Logs
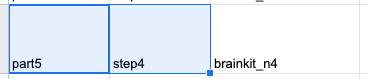
In order to copy the CAD model of Bowie as an assembly to a folder that the Eng. design group can access, we need to break the dependent links of each sub-assembly. This is because Fusion360 doesn’t have the functionality yet to send all the associated files in an assembly when copying it. When trying to do so, it was taking such an incredible amount of computational time. The “preparing for compute” would just slowly progress. For one operation of breaking the link, I decided to leave my computer going all night to see if it will process it. In the morning it showed the error.
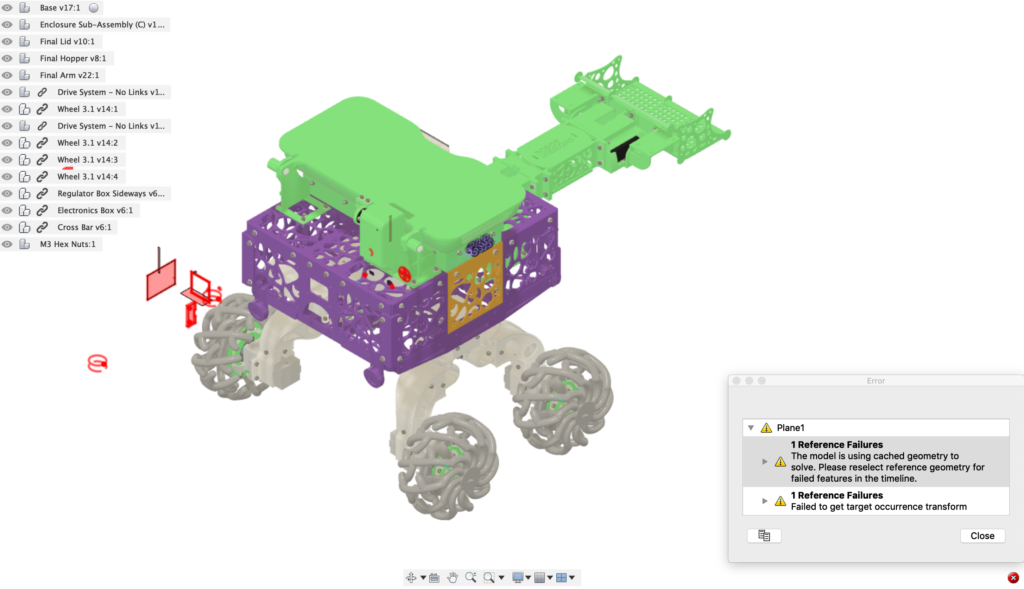
To overcome this, exported the assembly as a STEP, and importing it worked fine. The smaller pieces of the sub-assembly were easy to copy over. Even though there was no forward progress made on this, it certainly did take a lot of time and patience to work on this one.

by Erin RobotGrrl | Feb 10, 2020 | News, Progress Logs
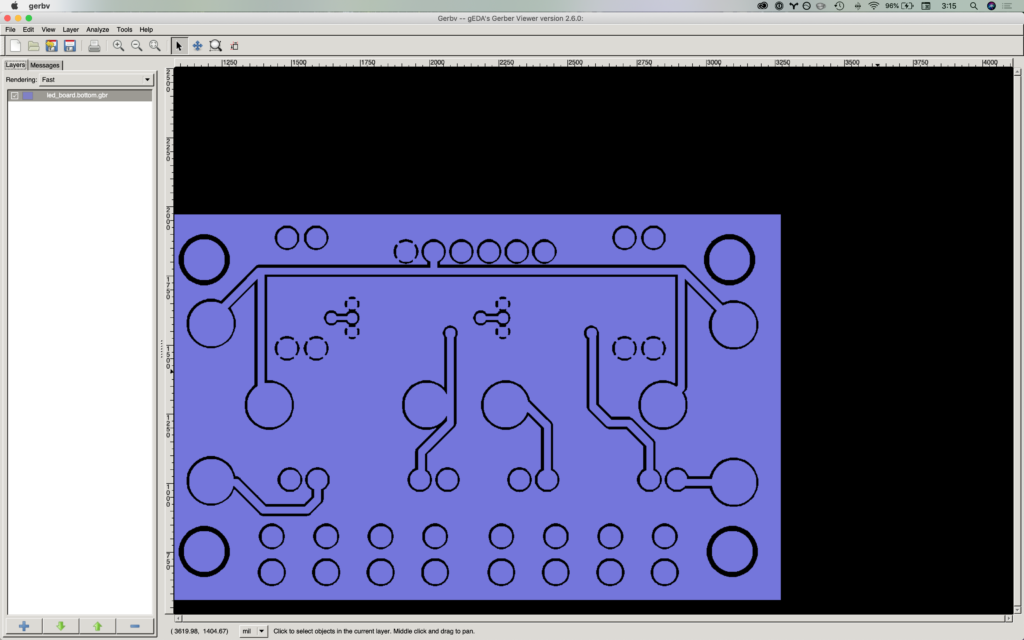
One of the tasks on the giant todo list was to fix the Super Bright Lights board. One of its traces is touching a pad, which is an error. It should be a quick thing to fix.
These boards were made in a program called pcb, a part of a suite of tools known as gEDA. It is not a very well known electronics design tool. There is a new fork of pcb called pcb-rnd. There are a few slight changes. Installing pcb-rnd on Mac is straight forward. Installing the other tools in gEDA is not. Specifically, we were looking to install gschem, the schematic editor. We tried brew, fink, but nothing was really working (broken dependencies).
Opening the board in gerbv, we can spot that the error does exist in the file, too. (That’s good news)
After some time re-orientating and remembering how to use pcb, here is the fix in pcb-rnd:
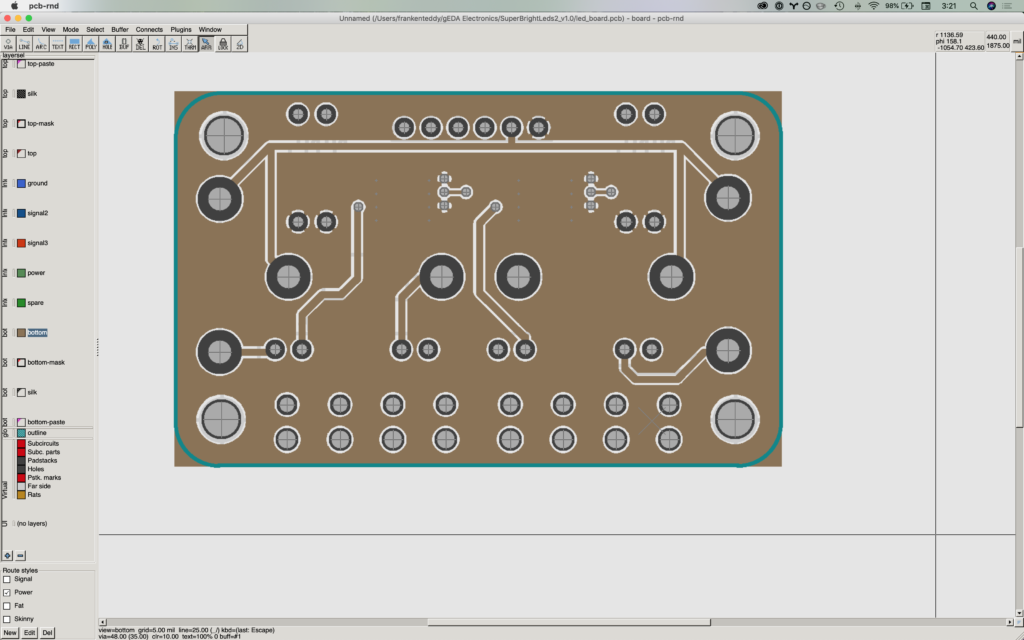
Then flip the board just to check nothing else moved:
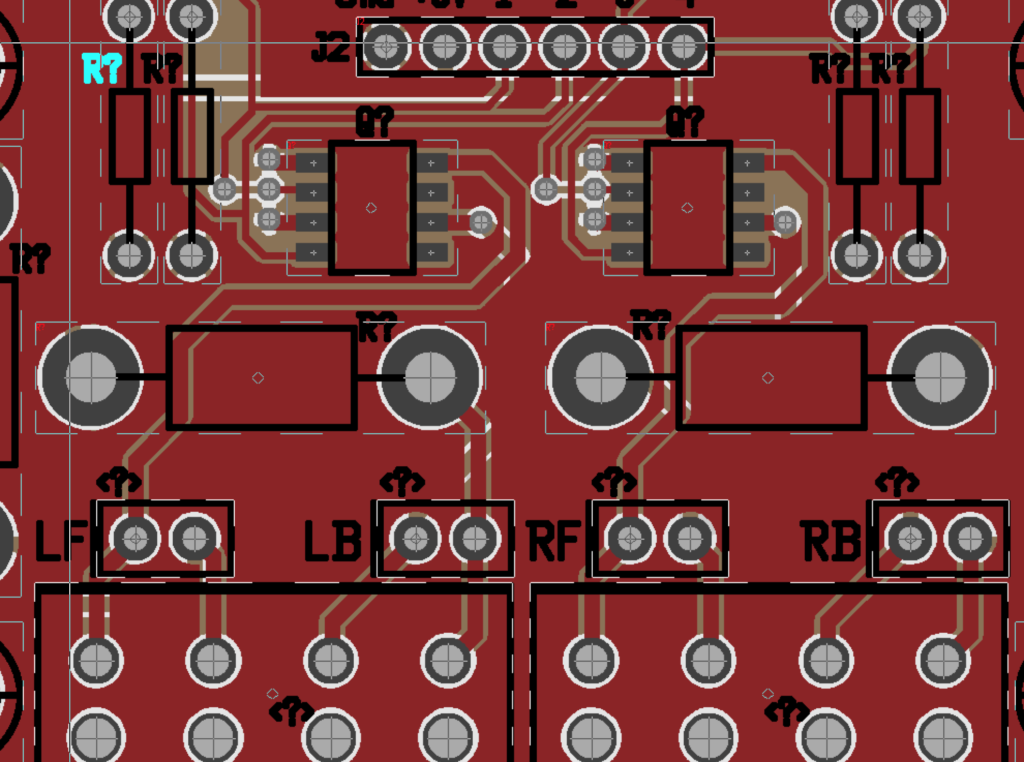
Hey wait a second, there are question marks all over the board! The reference designators are all wiped out. Maybe something happened with the netlist, or some sort of properties file. We couldn’t figure out or remember how to edit the refdes in the new pcb-rnd. We can’t exactly send this board out knowing that there will be question marks printed all over it…
Here’s the errors that were given, justifying the new question marks on the board:
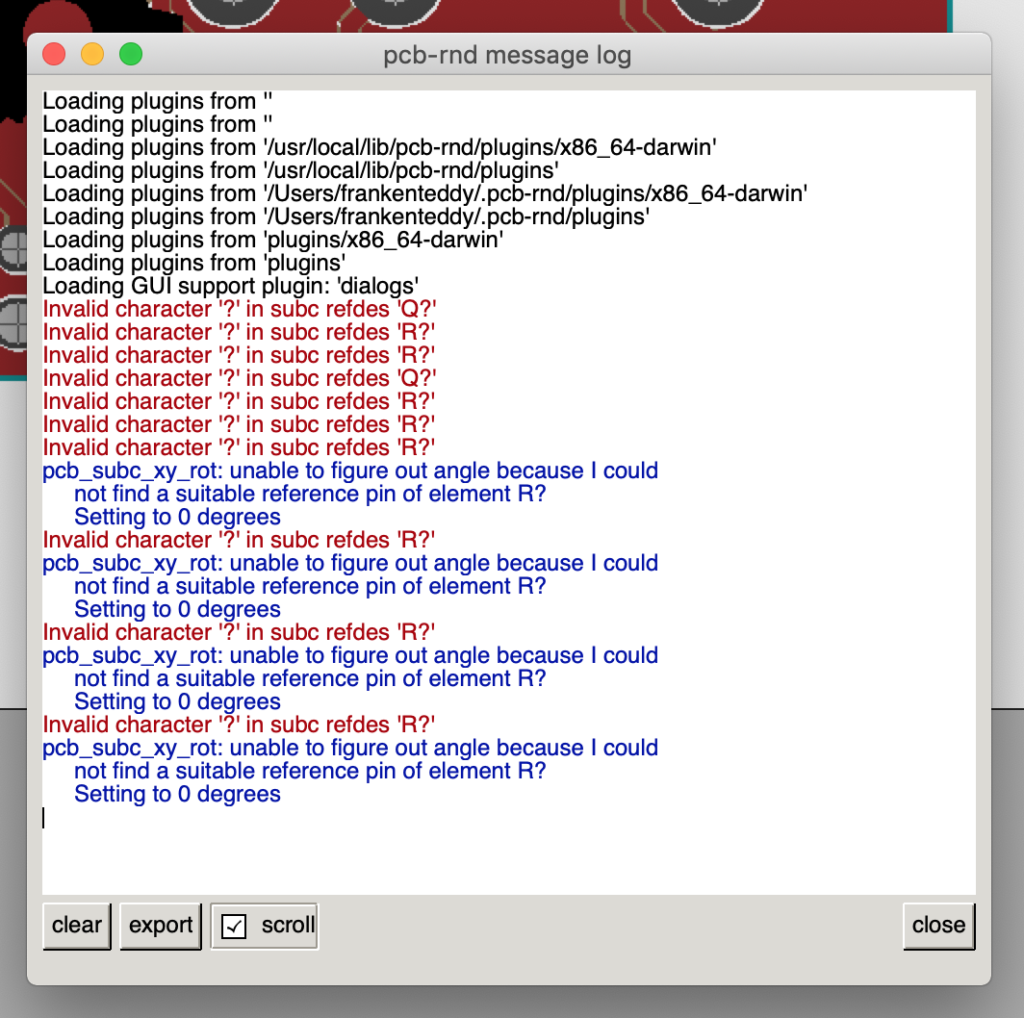
Anyway, we have an old version of pcb on one of our older computers, and we can make the fix using that. However, going forward, it will be wise if we switch from gEDA to Eagle or KiCAD, since the support for gEDA is very minimal at this point in time.
by Erin RobotGrrl | Feb 7, 2020 | News, Progress Logs
We made the edits that Beck and Brenda found when beta testing, and updated the google sheets. The next step will be to run the python script and update the pages. See their progress log here
by Erin RobotGrrl | Feb 5, 2020 | News, Progress Logs
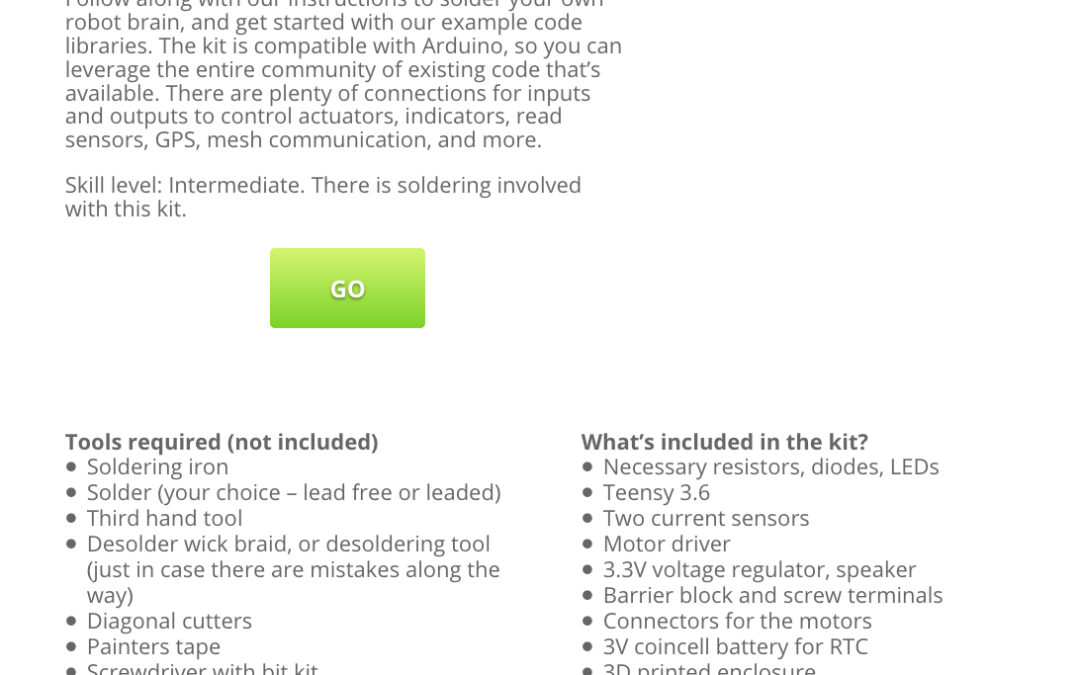
A little progress log on this, the Bowie brain kit splash page has been updated. It now contains the words giving an overview of the kit, and the big green button to launch into the instructions. There needs to be more work done on the page, it’s a bit of a mix right now, but it has at least been started. Next update will have more photos. You can see it here!